Who Doesn’t Enjoy a Scoop of Creamy Vanilla Ice Cream on a Warm Summer Day? For Those Who Are Lactose Intolerant, Allergic to Milk, or Adopting a Dairy-Free Diet, the Thought of Indulging in This Frozen Treat May Seems Like a Far-Off Fantasy. Fear Not, As We Are About to Show You How to Make Delectable Vanilla Ice Cream Without a Drop of Milk. This Recipe Is Not Only Dairy-Free but Also Extremely Straightforward to Prepare, Requiring Only a Few Simple Ingredients You May Already Have in Your Kitchen. So, Get Ready to Embark on a Dairy-Free Ice Cream Adventure and Savor the Creamy Deliciousness of Vanilla Without Milk.
Dairy Free Vanilla Ice Cream
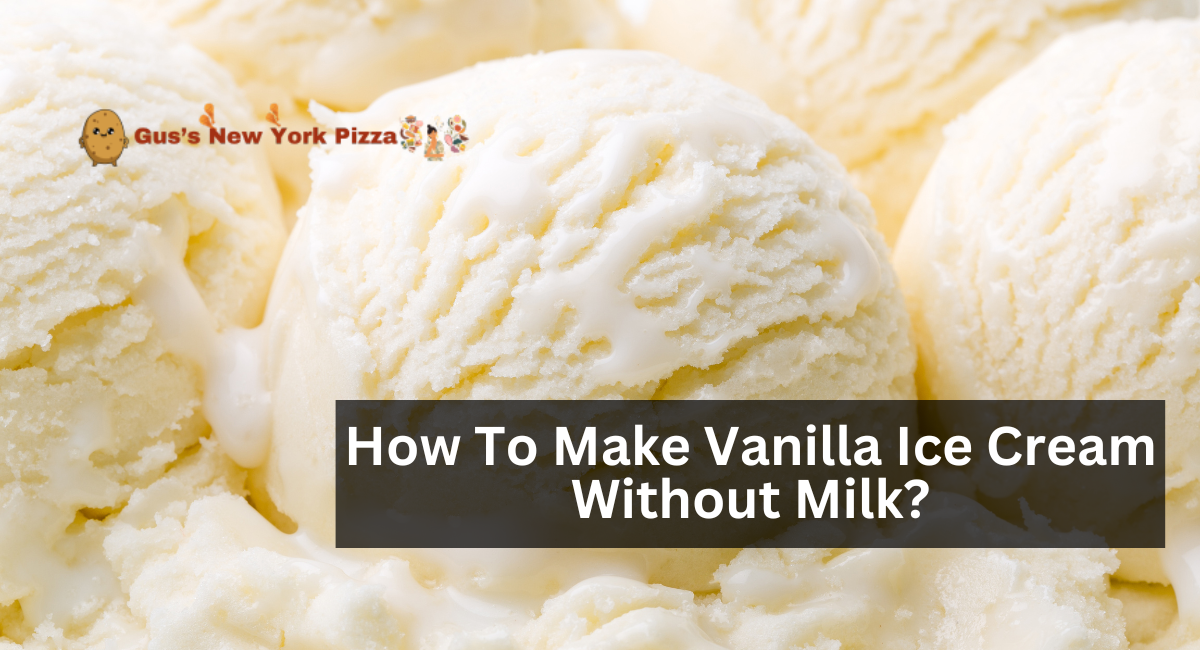
An Unbelievably Creamy, Scoopable, Homemade Dairy-Free Ice Cream with a Craving-Inducing Vanilla Bean Flavor.
Time
- Prep Time: 25minutes
- Cook Time: 15minutes
- Freeze Time: 8hours
- Total Time: 8hours 40minutes
Ingredients
- Dairy Free Vanilla Ice Cream
- 2 Cups Water
- ⅓ Cup Cashew Base, or Almond Base
- 2 Tbsp Vanilla Bean Paste, or 1 Vanilla Bean, Scraped
- 1 Tsp Vanilla Extract
- 3 Egg Yolks
- ½ Cup Sugar
- ¼ Tsp Salt
Instructions
- To Prepare Custard Ice Cream Base Without Dairy:
- Using a mixer, blend Water and Joi Plant Base for about one minute or until the mixture is smooth.
- In a saucepan on the stove, heat blended nut milk before adding vanilla bean paste and vanilla extract. Stir to Incorporate.
- Bring to a boil while cooking over medium-low heat. (Allow It to Take Its Time; This Will Require Roughly 5 Minutes.)
- Separate the Egg Yolks and Egg Whites. In a separate saucepan that doesn’t get too hot, whisk the egg whites, sugar, and salt together. (Things will get tricky.)
- After the milk mixture has reached a light boil, remove it from heat. Slowly pour the hot milk mixture into the egg yolk mixture while whisking or beating it with a hand mixer all the time. (It’s Important to Do This Slowly, One Ladle at a Time, or the Eggs Will Cook in the Hot Milk!)
- The mixture will be tempered after a few spoonfuls have been transferred. Pour the Remaining Warm Milk Mixture into the Egg Mixture, Whisking/Beating Until Completely Combined.
- Set the pan on the burner and warm it up over medium-low heat. Stir Custard Mixture Consistently Until It Has the Consistency of Runny Pudding, Coating the Back of a Spoon. (This Will Take 5-10 Minutes). Discontinue Heating.
- Place Custard Mixture in an Airtight Container, cover, and refrigerate for Several Hours or Overnight. (Custard must be chilled before churning, so the longer it chills, the better.)
- Also, ensure that the bowl of your ice cream maker is frozen, if necessary so that it is ready for use at the time of churning!
- To Make Dairy-Free Ice Cream at Home and Serve:
- When ready, place the frozen bowl of the ice cream maker into the machine. Turn on the machine, then pour in the chilled custard mixture.
- Mix for 12 to 15 minutes or until creamy.
- If desired, serve and consume right away.
- Transfer churned ice cream to a bowl or loaf pan, and freeze for at least one hour for a firmer ice cream that can be scooped.
- Produces approximately three cups of dairy-free vanilla ice cream.
Guidelines For Preparing Dairy-Free Vanilla Ice Cream
Here are some guidelines for preparing dairy free vanilla ice cream:
Choose a Dairy-Free Base: Many dairy-free milk alternatives are available, such as cashew milk, soy milk, coconut milk, and almond milk. Choose the one that best suits your taste preferences, as each has a distinct flavor and texture.
Sweeten It Right: Add sugar, maple syrup, agave nectar, or other sweetener to your ice cream to make it taste different. Adjust the quantity to taste, keeping in mind that freezing dulls sweetness, so it may need to be slightly sweeter than you would expect.
Accept Vanilla Extract: High-Quality Vanilla Extract Is Necessary for Authentic Vanilla Flavor. Add it to the base of your ice cream according to your personal preferences. Start with 1 to 2 Teaspoons and Adjust to Taste.
Create a Creamy Texture: To Achieve a Creamy Consistency, Consider Adding a Stabilizer Like Guar Gum or Xanthan Gum. These Ingredients Help Prevent Ice Crystal Formation, Leading to a Smoother Texture.
Don’t Forget Fat: Coconut Milk, in Particular, Is a Great Dairy-Free Source of Fat That Can Mimic the Creaminess of Traditional Ice Cream. For a rich, creamy texture, full-fat coconut milk is the best choice.
Flavor Variations: Add Dairy-Free Chocolate Chips, Fruit Chunks, or Nuts as Flavor Mix-Ins for Creative Flavor Variations. These additives can improve the consistency and flavor of your ice cream.
Chill the Base: Before churning, ensure that your ice cream base is thoroughly chilled. This promotes a more uniform and rapid freezing process, resulting in a more uniform final product.
Utilize an Ice Cream Maker: An Ice Cream Maker Is a Valuable Tool for Achieving the Proper Texture. It churns the ice cream as it freezes to prevent it from becoming too hard.
Freeze Properly: After using an ice cream maker to make the ice cream, put it in a container that won’t let air in and freeze it for a few hours to harden. Ensure Your Freezer’s Temperature Is Consistent to Prevent Ice Crystal Formation.
Storage
Here are some storage tips :
Airtight Container: Place the churned ice cream in an airtight container with a tight-fitting lid. This Helps Prevent Ice Cream from Absorbing Unwanted Freezer Odors and Reduces the Risk of Freezer Burn.
Press Plastic Wrap: Put a piece of plastic wrap right on top of the ice cream before you seal the container. This keeps the ice cream from coming into contact with air, which can cause ice crystals to form.
Seal Tightly: Ensure That the Container’s Lid Is Sealed to Prevent Air Infiltration. You can also protect the container by putting another layer of metal foil or plastic wrap around it.
Keep It in the Freezer: Place the ice cream container in the coldest section of your freezer, typically the back or bottom shelf. Maintaining the Texture of Ice Cream Requires a Consistent Freezer Temperature.
Avoid Frequent Thawing and Refreezing: Limit the Number of Times You Place the Ice Cream in and out of the Freezer. Frequent Thawing and Refreezing May Cause Texture Alterations and the Formation of Ice Crystals.
Label and Date: To Keep Track of How Long Your Ice Cream Has Been Stored, Label the Container with the Date You Prepared It. This enables you to ensure it is still at its peak quality when you decide to consume it.
Keep It Covered: Ensure Your Container Is Properly Covered Even After You’ve Removed the Lid to Serve. Air exposure must be avoided at all costs if ice cream is to retain its freshness.
Defrost Properly: When you are ready to consume the ice cream, remove it from the freezer and allow it to sit at room temperature for a few minutes. This facilitates scooping and softens the ice cream, making it easier to scoop.
Consume Within a Reasonable Timeframe: Although ice cream can be stored in the freezer for a couple of months, it is best when consumed within the first month for optimal texture and flavor.
Thanks for visiting our site hope you like it and find it helpful..